
Walking into electronics as a hobby, the shopping lists you find online can run to hundreds of items and just as many dollars, most of which a beginner will never touch. The gear that genuinely matters in the first few months is short, affordable and reused in almost every project. Spending carefully at the start means you learn with tools that work, sidestep the frustration of cheap ones that fail mid-task, and keep money back for the parts you will actually consume. This guide separates the essential from the optional so your first kit earns its place on the bench.
The core tools worth buying first
Three tools do most of the work in early projects. A temperature-controlled soldering iron joins components to boards and, unlike a cheap fixed-heat iron, holds a steady tip temperature so joints form cleanly instead of cooking. A digital multimeter measures voltage, resistance and continuity, which is how you check whether a circuit is doing what you expect. A breadboard with a bundle of jumper wires lets you build and rearrange circuits without soldering at all, ideal while you are still testing ideas.
Around those, add a pair of flush cutters for trimming leads, a small pair of needle-nose pliers, and a roll of thin rosin-core solder. Wire strippers save you nicking conductors with a knife. None of these are expensive individually, and together they cover the mechanical side of nearly everything you will attempt in the first year of building. A steady work light and, ideally, a small fan to draw solder fumes away from your face round out a safe and usable bench. Neither is glamorous, yet both make longer sessions more pleasant and let you read fine detail on a crowded board.
Components and consumables to stock
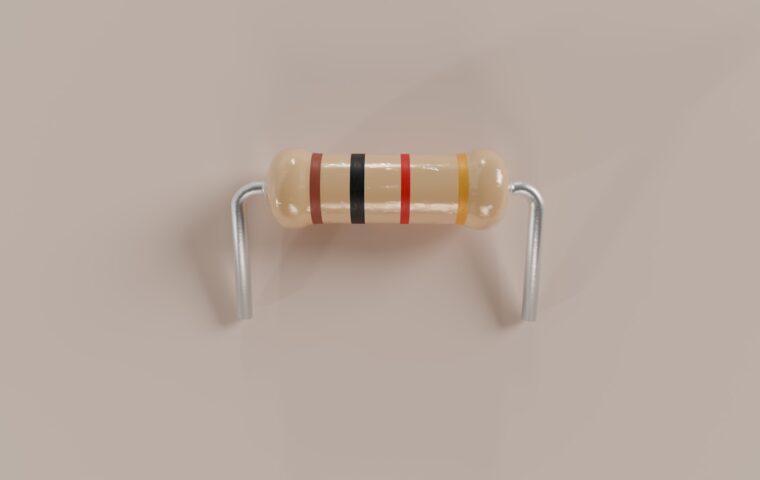
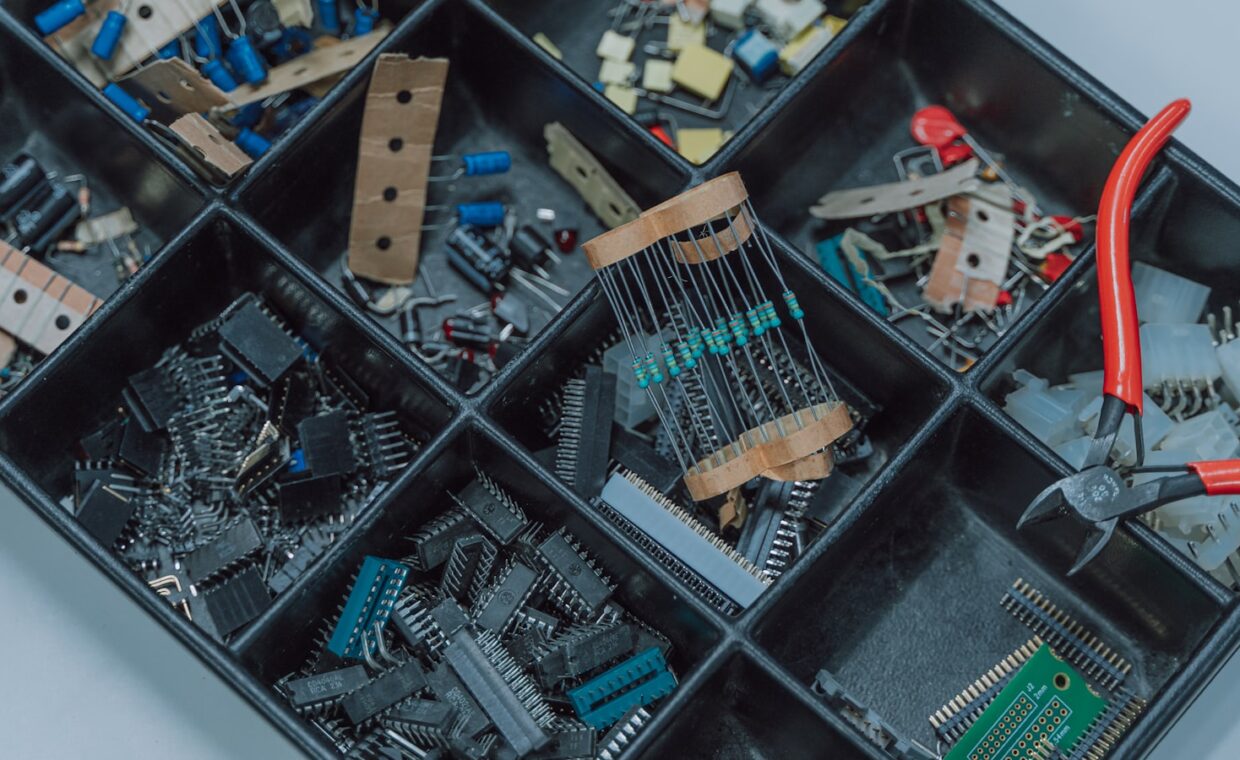
Tools last for years, but components get used up, so a modest stock keeps you building instead of waiting on deliveries. An assortment of resistors across common values, a handful of capacitors, a few LEDs, some tactile buttons and a selection of jumper wires will cover most tutorials. A powered breadboard supply or a couple of battery holders gives your circuits something to run on. A reel of solid-core hookup wire in a couple of colours, some heat-shrink tubing and a strip of header pins fill the gaps that tutorials quietly assume you already have. Keeping these in a small compartment organiser spares you the recurring annoyance of tipping loose parts across the bench and losing the one value you need.
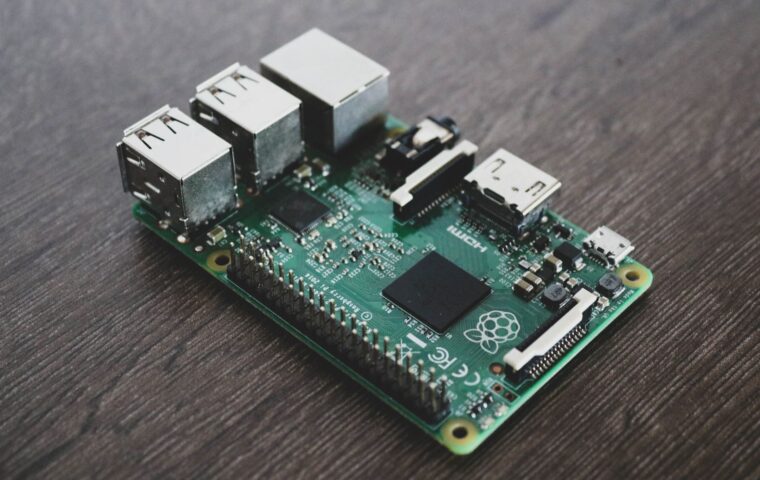
A programmable board turns those parts into something interactive, and the choice between a simple microcontroller and a fuller computer shapes what you can build. The differences are laid out in the walkthrough on how microcontrollers compare with single-board computers, which helps you pick a first board that matches the projects you have in mind rather than the most powerful option on the shelf.
Nice-to-have tools to add later
Once you know the hobby has stuck, a second wave of tools removes friction rather than enabling the basics. A helping-hands clamp or a small vice holds boards steady while you solder, sparing your fingers and steadying delicate work. A solder sucker or desoldering braid lets you undo mistakes cleanly. A bench power supply with adjustable voltage and current protects components while you experiment with an unfamiliar circuit. A set of precision screwdrivers and an inexpensive digital caliper also begin to earn their keep once you open enclosures or need to measure a part that must fit a specific hole.
This is also the stage where projects start living outside the workshop, so protecting a finished board matters. Choosing the right housing, covered in the article on enclosing and cooling a completed board, keeps dust, knocks and stray fingers away from the electronics once a build leaves the bench and starts doing a real job somewhere in the home.
Where to spend and what to skip
Two purchases reward spending a little more: the soldering iron and the multimeter, because both affect whether your results are trustworthy. A vague meter or an iron that cannot hold heat will have you doubting your own work. Almost everything else can start cheap. The table below sorts common purchases by how urgently a beginner needs them.
| Item | When to buy | Why |
|---|---|---|
| Temperature-controlled iron | First | Clean joints depend on steady heat |
| Digital multimeter | First | Your main way to diagnose circuits |
| Breadboard and jumpers | First | Test circuits without soldering |
| Bench power supply | Later | Useful once projects grow |
| Oscilloscope | Skip at first | Rarely needed by beginners |
Skip the oscilloscope, the hot-air rework station and giant component assortments until a specific project demands them. Buying them early ties up money you could spend learning. A first practical build teaches more than any tool, and our coverage of approachable first projects on a Raspberry Pi offers starting points that use little more than the core kit described above.
Building your first kit sensibly
A workable starter set comes together for less than many single premium tools cost. Buy the iron and meter you can rely on, add breadboard, cutters, pliers and solder, then a small drawer of common components. That is enough to follow most beginner tutorials from start to finish without stalling for want of a part or a tool halfway through. It helps to note which brands felt solid and which disappointed, because your next iron or meter, if you ever need one, is an easier choice when you remember what let you down.
Let the projects pull you towards your next purchase rather than buying in anticipation. When a build genuinely needs a desoldering tool or a steadier power source, you will know exactly why, and the tool will get used. Combining boards teaches this quickly, as the breakdown of a build that pairs an Arduino with a Pi shows, since each stage reveals the next tool worth owning.
Questions readers ask
What tools do I need to start electronics?
A temperature-controlled soldering iron, a digital multimeter, and a breadboard with jumper wires cover the essentials. Add flush cutters, needle-nose pliers, thin rosin-core solder and a wire stripper for the mechanical work. That short set handles the vast majority of beginner projects. You can build and test many circuits on the breadboard alone before you ever pick up the iron.
Do I need an expensive soldering station to begin?
No, but avoid the cheapest fixed-temperature irons. A modest temperature-controlled iron, often a fraction of a full station’s price, holds its tip heat steady enough for clean joints and will serve you for years. Expensive stations add speed, precise control and features like hot air that beginners rarely need. Spend enough to get temperature control, then put the rest towards components.
What components should a starter kit include?
Stock an assortment of resistors in common values, a handful of capacitors, several LEDs, a few tactile push buttons, and plenty of jumper wires. Add a programmable board suited to your projects and something to power circuits, such as battery holders or a breadboard supply. These consumables cover most tutorials, and you replace them as you go rather than buying everything at once.