
A small screen turns a headless gadget into something you can read at a glance. Rather than opening a phone app or logging in across the network, you see the temperature, the queue length, or the current track right on the device itself. Fitting one is seldom just a case of plugging it in, though. The interface it uses, the current it needs, whether it accepts touch, and how it is mounted all shape the result. This guide walks through those decisions so the panel you add genuinely suits the job instead of fighting the rest of the build.
Display interfaces on small boards
Small boards expose several ways to drive a screen, and the one you choose sets both the wiring and the speed. Tiny status panels, the monochrome OLEDs around an inch across, usually communicate over I2C or SPI using only a handful of pins. I2C keeps the wiring minimal but refreshes slowly, which suits a line or two of text. SPI shifts pixels far faster, so small colour TFT panels rely on it.
Larger displays change the arrangement. A ribbon-cable DSI connector drives many official touch panels directly, while an HDMI output feeds any monitor and leaves the GPIO header free for other parts. The spread of builds a small board handles, from sensor loggers to media boxes, appears in the overview of projects a Raspberry Pi suits, and a screen slots into most of them.
Touch layers versus a plain display
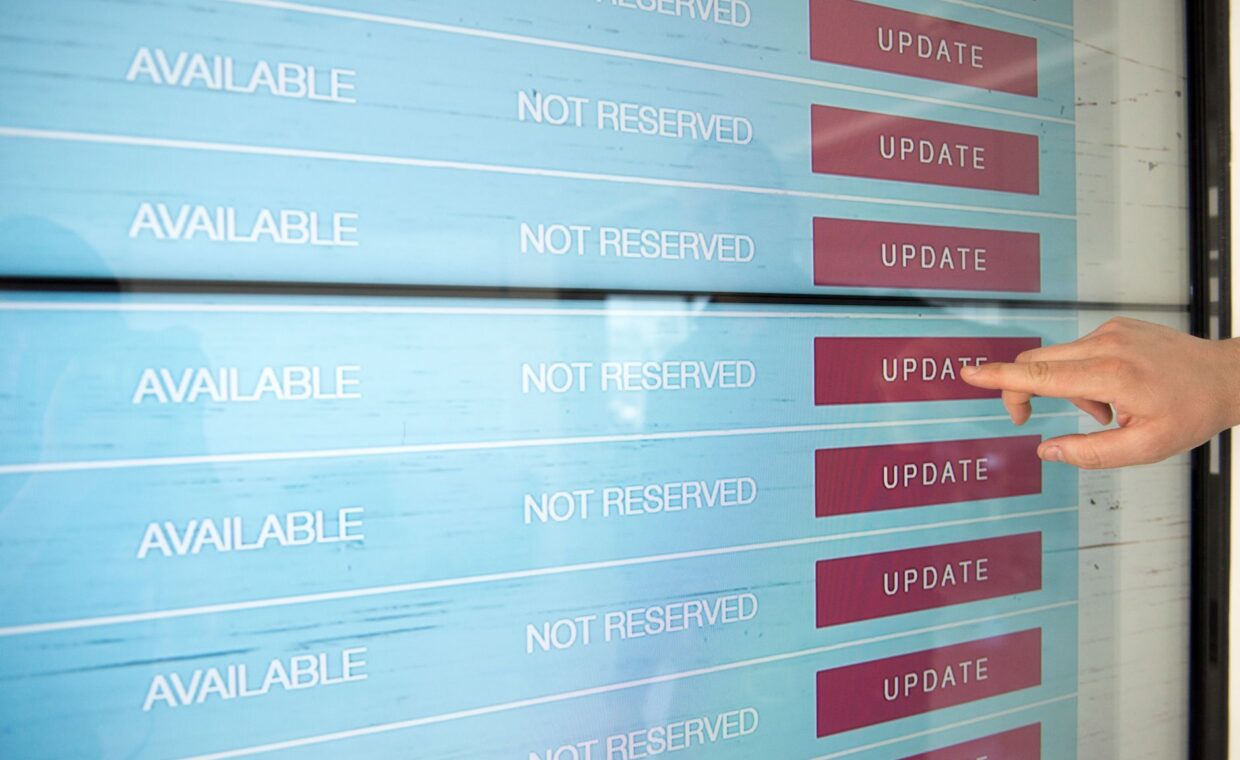
A display shows output. A touchscreen adds an input layer bonded over the glass, and the two are neither the same purchase nor the same wiring. Resistive touch panels register a firm press and work with a stylus or a gloved finger, which suits rugged controls. Capacitive panels feel like a phone, following a light fingertip and several points at once.
Touch usually rides its own bus, frequently I2C, separate from the display link, so a colour TFT with capacitive touch needs both a display connection and a touch controller wired and set up. If the project only reports status, a plain display saves cost, pins, and driver effort. Choose touch when the screen replaces buttons or a keyboard, not simply because it is available.
Setting up a screen step by step
Fitting a small SPI display follows a repeatable order. Keep the board powered down until every connection is checked.
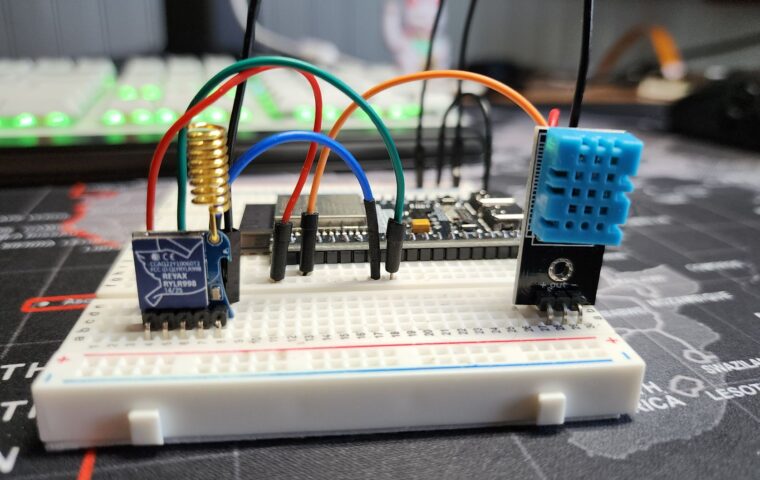
- Confirm the panel’s logic voltage. Many small displays expect 3.3V signalling, and pushing 5V logic into a 3.3V pin can damage it, which is why a converter sometimes sits between them, the concern the notes on matching signal voltages between parts explain.
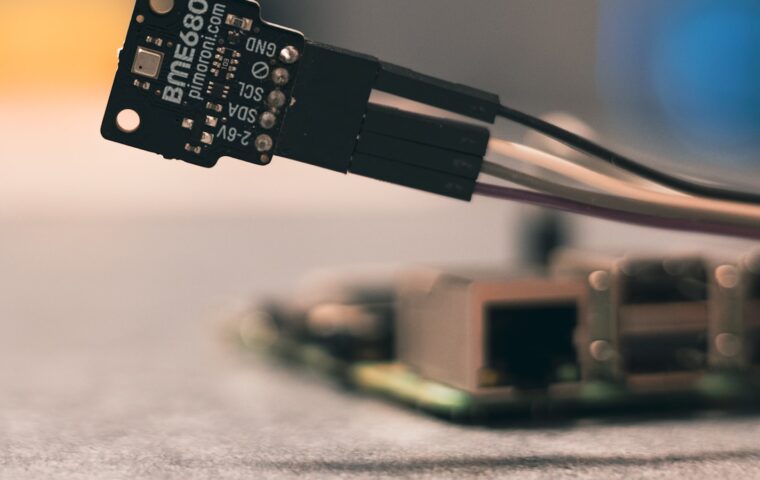
- Connect power and ground first, then the data pins, following the panel’s own pinout rather than a generic diagram.
- Enable the relevant interface, SPI or I2C, in the board’s configuration tool, then reboot.
- Install the driver or device-tree overlay the panel maker specifies, matched to the exact controller chip.
- Set the resolution and rotation, then test with a simple image or console output before adding any software on top.
What a screen draws from the power budget
Screens rank among the thirstier add-ons, and the backlight is the reason. A bare few-line OLED might draw only tens of milliamps, but a backlit colour panel of three to five inches can pull several hundred, and a seven-inch touch display more again. That weighs most when the board already runs close to the limit of its supply.
On a build fed from a modest adapter, a bright screen can cause brownouts, random reboots, or corrupted storage under load. Account for the screen’s draw alongside the board and any other peripherals, then size the supply with headroom to spare. For a device meant to stay powered continuously, the same care that keeps an always-on machine stable applies here, so measure the real current rather than trusting the printed figure.
Mounting angle and screen orientation
Where and how the panel sits decides whether anyone actually reads it. Fixed screens often mount behind a laser-cut or printed bezel, held by the display’s own standoffs or a lip moulded into the case. Leave slack in the ribbon or jumper wires so a flex never tugs the connector loose over months of handling.
Orientation matters in software as much as hardware. A panel installed sideways for a tidy enclosure needs its rotation set so text reads upright, and the touch coordinates need rotating to match, or presses land in the wrong spot. Viewing angle deserves thought too, since cheaper TFTs wash out when seen from above or the side, so aim the screen toward where a person will really stand.
When a screen earns its place
A screen adds cost, current draw, wiring, and one more physical part that can fail, so it should pay its way. It earns a place when local feedback genuinely helps: a print-progress readout on a 3D printer, a now-playing panel on an audio build, or a control surface for a device with no keyboard at all.
It is less convincing when the same information already reaches a phone or a browser tab you check anyway. For a machine tucked in a cupboard that you seldom stand over, the effort often goes further into keeping a build dependable while unattended than into a display few people ever see. Match the panel to how the project is actually used, and it stops being decoration.
Where this leaves you
Choosing a screen is a chain of matched decisions rather than a single part number. The interface sets the wiring and the speed, the touch layer decides whether the panel also takes input, the current draw shapes the supply, and the mounting settles whether the result is legible. Align those and a modest display makes a project far easier to live with. Miss one and you finish with a panel that reboots the board, sits at an awkward angle, or reads upside down.
Start from the job the screen has to do. A two-line status readout and a full touch control surface are different projects with different budgets, and treating them as one leads to overspending or disappointment. Decide what the person in front of the device needs to see or press, then work back to the interface, the power, and the frame that will deliver it.
Frequently asked questions
Can I add a screen to a Raspberry Pi?
Yes. A Raspberry Pi supports several display routes: tiny I2C or SPI panels for status text, official DSI touch displays over the ribbon connector, and any HDMI monitor. The right one depends on the size you need, whether touch is required, and how many GPIO pins you want to keep free. Small SPI and I2C panels are the usual pick for compact, purpose-built projects.
Which small display works with a Pi?
Common choices are 0.96-inch I2C OLEDs for a few lines of text, 2 to 3.5-inch SPI colour TFTs for graphics, and the official DSI touchscreen for a larger interface. Match any panel to its exact controller chip so the correct driver loads, and confirm it expects 3.3V signalling. Backlit colour panels draw far more current than a plain monochrome OLED.
How do I set up a Pi touchscreen?
Wire the display and its touch controller according to the panel’s pinout, enable SPI or I2C in the configuration tool, then install the driver or overlay the maker specifies. Reboot, set the resolution and rotation, and calibrate touch so presses register accurately. Test with a simple image before layering your application on top, and rotate the touch coordinates to match any screen rotation you applied.